Showing posts with label Color Paper. Show all posts

Friday, 30 May 2014

# 20 Paper Flower

Little darling wanted to make a paper flower.  So we did this project together. 


What you need:
2 Green color paper - 1 for the stalk and 1 for the leaf
1 Pink color paper
Pencil
Glue
Scissors


 1) Roll the green paper from the edge (either with a brush like above picture, or just roll it) and glue the end of the edge to form the flower stalk.
2) Draw some leaf shape and cut them out.
3) Slot it in between the rolled stalk.


4) Draw a spiral and cut it out
5) Draw a love shape and cut it out  (Fold the paper so that you may cut many love shapes)
6) Fold the spiral from the outer side till the inner to make a rose bud
7) Stick the love shape on the side continuously to form the flower
8) Finally stick the flower to the stalk (you may use cellophane tape to tape it if it doesn't hold well)

Well with this paper flower, you can also do something like this in a recycle plastic (that holds strawberries / fruits)


Thursday, 24 April 2014

# 17 Colorful meow meow aka boomerang

Little boy wanted to do a boomerang and so little darling teach him how to do this with a paper plate. This boomerang, of course, is not strong enough as the real boomerang.. but they have fun doing it!

What you need:
  1. Paper plates
  2. Pencil 
  3. Scissors
  4. Black marker
  5. Yellow paper
  6. Glue

Steps:
  1. Draw the U shape on the paper plate with pencil
  2. Cut the U shape out with scissors
  3. The unwanted U shape, draw a round circle for the head, 2 little ears and a tail
  4. Cut them out and paste them accordingly
  5. Color them into the color you like
  6. Cut 2 little yellow paper in round shape
  7. Paste it to the eyes area and using the black marker, draw the cat's eye, nose and mouth


Monday, 5 September 2011

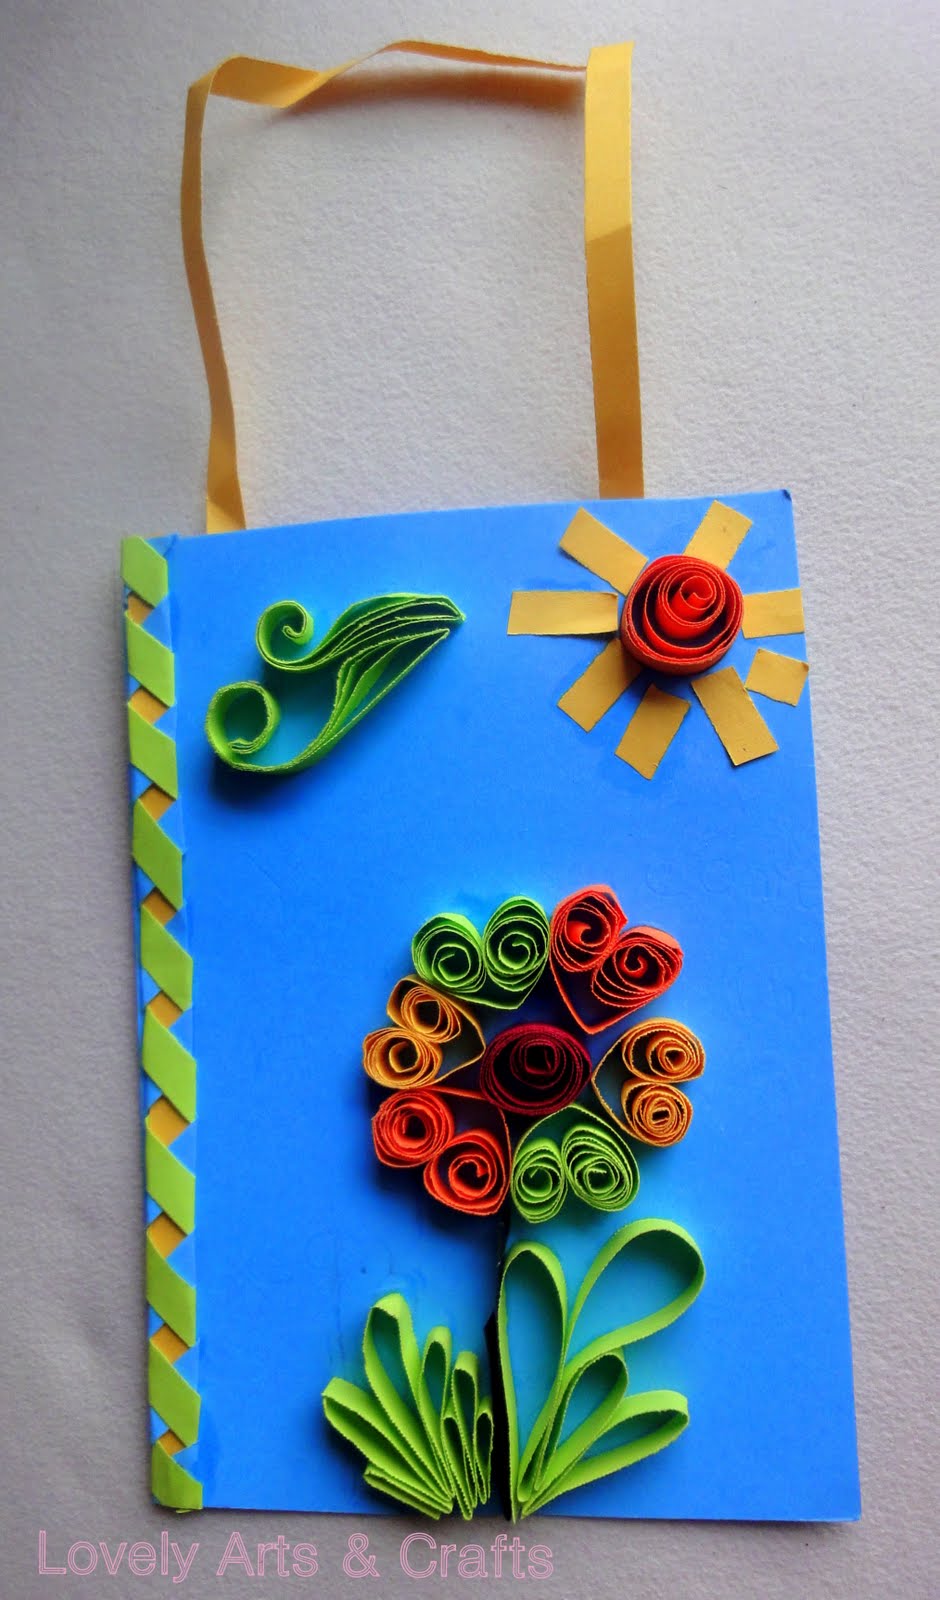
# 12 Paper Quilling

First attempt - myself with my lil' girl

She said this is a door hanger :)

Door hanger done by myself

This is done by lil' girl


Our very first attempt with paper quilling..and it's fun!   My lil' girl and myself attended this Parenthots event and did the first paper quilling together.  She wanted to add a paper on top of the card as she said it's a door hanger.. very creative, I never thought of it :)  The next two cards at the bottom was done at home.  She did her own cards and it is very nice.

# 10 Caterpillar


Caterpillar done by my lil' girl, all by herself, using egg carton, color paper and water color.  It's an easy craft and so just let her be the teacher for the day :)

Saturday, 30 July 2011

# 8 Butterfly

 Done by myself with my lil' boy

 Done by KY, my lil' nephew with my help


This was done quite some time ago, but I was too busy to post this since I've to relocate. 

So it started with ...one of the Saturday morning, my lil' boy and KY was very free.  I asked them whether they want to do some crafts.  Both of them, age 2+ and 4,  said yes and so we started with this little project.  My lil' boy likes to sing the song of 'Butterfly butterfly happy all day...' from Barney and we decided to make a butterfly!!

Materials are toilet paper roll, color papers, strings and magic color.  That's all you need :)

1) Firstly fold the color paper into half and cut the shape of a butterfly wings (so both wings will be equally same)
2) Still in the folded manner, punch 2 holes so that you may slot in the string later to tie it to the body (toilet rolls)
3) Paste some color paper patterns on top of the wings to beautify it.  (For this, I asked both of them to tear the color paper into pieces and glue them on the wings. 
4) For the butterfly body, just take a white paper and cut out a rectangular shape (measure roughly on the toilet paper roll)
5) Glue the white paper on the toilet paper roll
6) Draw the eyes, nose and mouth
7) Take your string and put through the butterfly wings to tie with the toilet paper roll


Happy crafting!
Xoxo

Monday, 9 May 2011

# 7 Teacher's day card


 Teacher's day is coming soon and so my lil' girl did these cards for her kindergarten teachers.  All was decorated and drawn by her.  I thought of guiding her to do a nicer card, but she want her own way and I let her in charge this time.  Well, it turns out to be quite cute and unexpected with the lil' curly hair girl and ice cream LOL.  Teacher Rosa is her class teacher and she is teaching her English.


As for this card, the Love shape was designed by myself and the rest are by lil' girl.  Of course I did add in some colors on the cartoon girl to look more outstanding.  Teacher Tharini was her class teacher last year.


This was fully done by my lil' girl without my help at all.  My lil' girl is quite mature and have her own thinking.. and want to do her own way.  So this is for her Teacher Ken. He's a handsome guy and of course, married with a baby now :)

Tuesday, 12 April 2011

# 5 Colourful garland


Colourful garland can be made from colourful papers or even other materials that you can think of. You may even use old magazines, artificial flowers petals, etc. 


What you need is some colourful papers, some straws, a scissors, thread and a needle.  For kids, you may want to replace the needle and thread with raffia strings. 


Fold the piece of paper into half and from this half, fold the paper again as per above top left picture, where you can then draw a love shape on it. With the scissors, cut the love shape out so you can see the flowers pattern.  Cut more flowers pattern out from different colour papers.  Cut the straws roughly 1 inch or depends whether you want more flowers or lesser flowers.  If you want more flowers, then cut the straws shorter. 


Thread a needle and tie a knot at the end of the thread. Then thread one flower pattern with one straw at a time until you get a long string of it.  As for kids using raffia strings, just cut a little hole at the cross line of the flower pattern and then with the raffia strings just put it through and do the same thing as what we do with the thread.
 
Here it is, the beautiful colourful garland and it's great for a party! 

Thursday, 10 March 2011

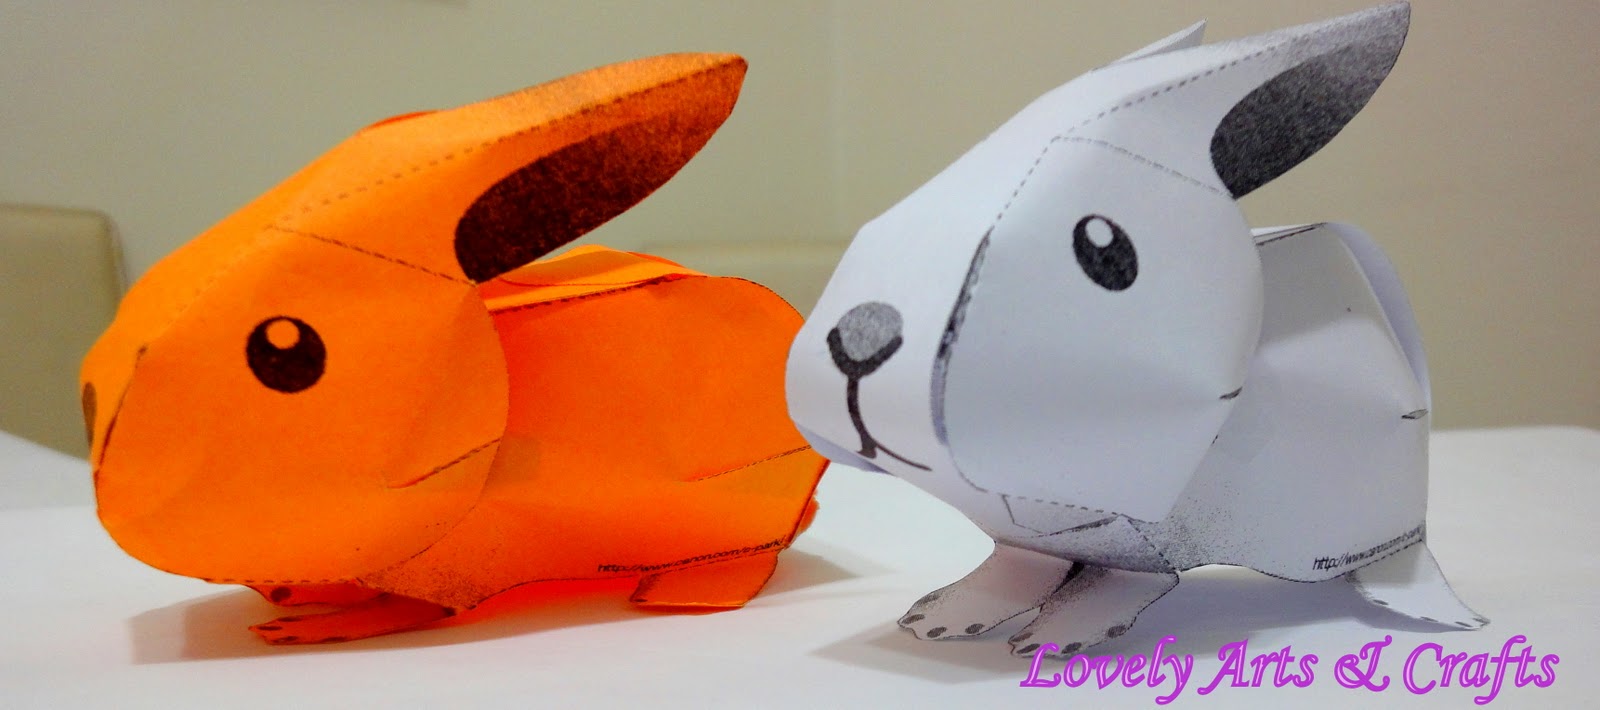
# 3 Paper bunny

Lovely Paper bunny! Check this out at here - Canon creative park
It's easy to do if you follow the instructions at the website. Just ensure that the last area you should stick is the head *v*