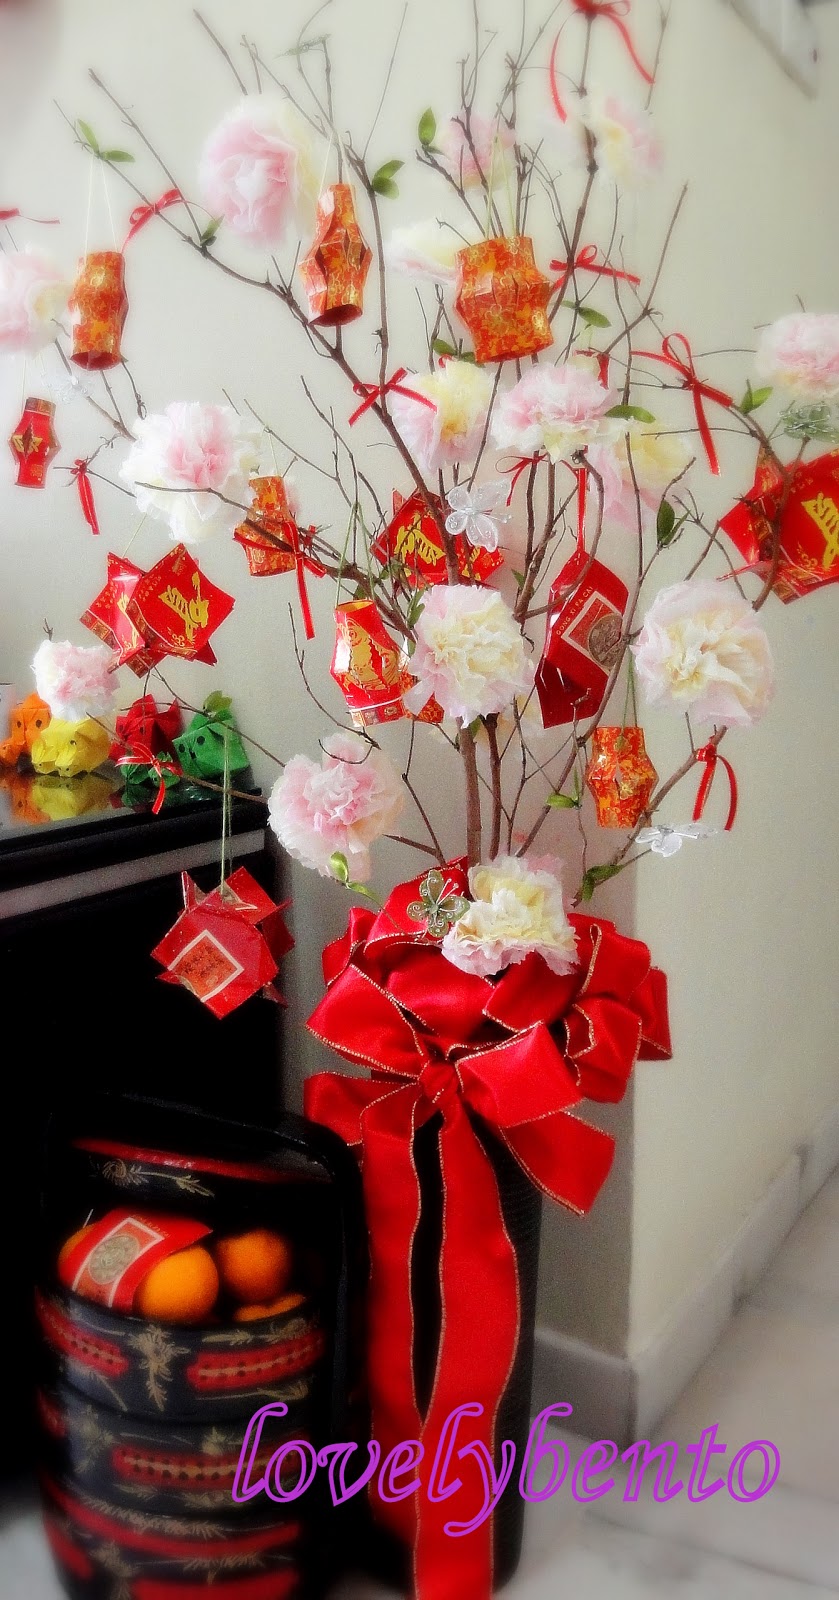
This cherry blossom flower is really lovely and presentable especially for Chinese New Year. So me and my little girl did this cherry blossom flowers together and tied on the tree branches. She then made all the tanglungs by herself and hang it on the tree. I tied some red ribbons and prepared some leaves made from ribbons and here is how it looks like.. Niceeee? Well you can make many things out of this cherry blossom flowers not just for CNY.. am sure you can think of a lot of things from this ^v^
To make the flowers and the leaves, these are the materials that you need; color tissue papers (or you can use other types of paper eg. paper tissue from your local Art shop), green wire, green ribbons, ribbon scissors and wire scissors
Take 2 pieces of different color tissue papers and put on top of each other
Fold it like how you fold a fan at the middle or just accummulate the middle part until you get this ...hmm looks like a ribbon
Then take a green wire and twine it in the middle and twist it and turn it, so to tighten it. The wire can just be 1/3 of the whole length if you just want to twine it to the tree branch, but if you want to make few stalks of flowers to put into a vase, then you may use the full length. Use the wire cutter to cut the green wire.
Above is how it looks like in the middle after twined.
Below, is how it looks like from the side
You may cut it to semi circle to make it smaller , depending on what size you want for your flower. Or you may even use your hands to just tear it ..this way it looks more like a flower ^v^
This is how it looks after tearing it
Next, is to open up your little cherry blossom flower, softly ..layer by layer starting from the middle and finally to the outer layer and adjust it like a round shape
Finally, till you get this
How to make the leaves for your tree? Well just use the green ribbon and cut it out to be in this shape below and put the small little wire on it (if your ribbon is shinny on one side only, then put the wire on that side)
Then twine it the same way you twin the flower
These little ribbon leaves can then be added to your little tree or just twine it on the stalk of flower and you can finish up the stalk of flower with green tape
You can do a bunch of flowers for your vase, or make a little small one to stick on a birthday card, or just decorate your church with all these lovely flowers! it's just inexpensive, but you just need some time to do it and enjoy the whole thing! ^v^
Look at the below, you can even add a little butterfly to beautify your blossom flower plant