Monday, 9 May 2011

# 7 Teacher's day card


 Teacher's day is coming soon and so my lil' girl did these cards for her kindergarten teachers.  All was decorated and drawn by her.  I thought of guiding her to do a nicer card, but she want her own way and I let her in charge this time.  Well, it turns out to be quite cute and unexpected with the lil' curly hair girl and ice cream LOL.  Teacher Rosa is her class teacher and she is teaching her English.


As for this card, the Love shape was designed by myself and the rest are by lil' girl.  Of course I did add in some colors on the cartoon girl to look more outstanding.  Teacher Tharini was her class teacher last year.


This was fully done by my lil' girl without my help at all.  My lil' girl is quite mature and have her own thinking.. and want to do her own way.  So this is for her Teacher Ken. He's a handsome guy and of course, married with a baby now :)

Wednesday, 4 May 2011

# 6 Ferris Wheel


My new toy.. Ferris Wheel..so lovely!!!  This is my first time doing this ferris wheel and I need to practice to really do it by myself. This is done mostly by Carrine :)  She's an expert in this and her art work is so good! You need lots of patience to do this and lot of thinking too. 

You need approximately 2 full days to get this done.  All needs to be double :) unless you use different material, maybe just thick cardboards.

Here's the measurement:
  1. Base 15.5cm x 24cm
  2. Round 15cm diameter
  3. X of wheels 35cm x 5cm
  4. Holder for cable car - 15cm
  5. Cylinder for cable car - 10cm
  6. Cylinder holder for the centre 15.5cm
  7. Cable car - 3.5cm x 5cm x 4cm
  8. String - measure before paste 


Tuesday, 12 April 2011

# 5 Colourful garland


Colourful garland can be made from colourful papers or even other materials that you can think of. You may even use old magazines, artificial flowers petals, etc. 


What you need is some colourful papers, some straws, a scissors, thread and a needle.  For kids, you may want to replace the needle and thread with raffia strings. 


Fold the piece of paper into half and from this half, fold the paper again as per above top left picture, where you can then draw a love shape on it. With the scissors, cut the love shape out so you can see the flowers pattern.  Cut more flowers pattern out from different colour papers.  Cut the straws roughly 1 inch or depends whether you want more flowers or lesser flowers.  If you want more flowers, then cut the straws shorter. 


Thread a needle and tie a knot at the end of the thread. Then thread one flower pattern with one straw at a time until you get a long string of it.  As for kids using raffia strings, just cut a little hole at the cross line of the flower pattern and then with the raffia strings just put it through and do the same thing as what we do with the thread.
 
Here it is, the beautiful colourful garland and it's great for a party! 

Sunday, 20 March 2011

# 4 Card from wrappers

Long long time ago, there's an event we have to organise and we've got to think creatively to use whatever we have to do all these crafts.  So our friend have some wrappers that was used to wrap her flowers and with that, we did this recycle card here.
What you need is 2 plastic/paper wrappers (2 different color), ribbons, foils or transparent hard cover, puncher & scissors. 


There's 3 ply here.  The first was a transparent wrapper with love shape on it. Second was the foil/transparent hard cover and finally the third was a color wrapper.  Cut all the pieces into a rectangle shape and punch holes at the top.  Put on a ribbon through the 2 holes and tie them into a ribbon. Then just simply punch other holes as you like as a design on the card.


Finally, you can use a marker or ball pen to write on the foil/transparent hard cover.  Just lovely! You can do your part to recycle items that you do not need and create something special and lovely for your friends.

Thursday, 10 March 2011

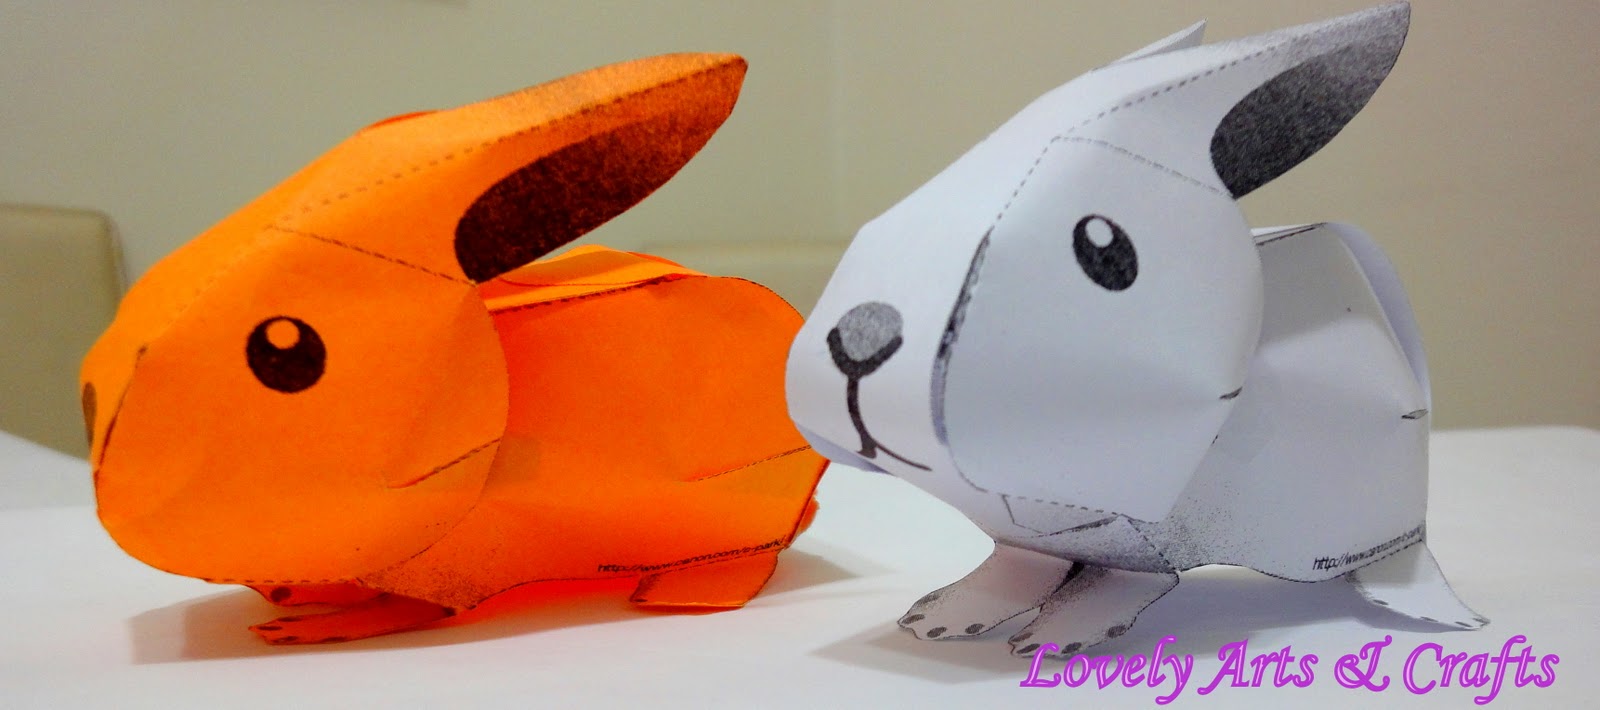
# 3 Paper bunny

Lovely Paper bunny! Check this out at here - Canon creative park
It's easy to do if you follow the instructions at the website. Just ensure that the last area you should stick is the head *v*


Puppet

You know I bought this white with frog print hand glove (right side) from 100yen and my girl thought it's a puppet for her to play LOL  It looks like a snake when you open up the 'mouth'!   I think it's a good idea too. So let's have fun with your kids with this 'puppet' LOL ^v^


Sunday, 6 March 2011

# 2 Cherry Blossom Flower

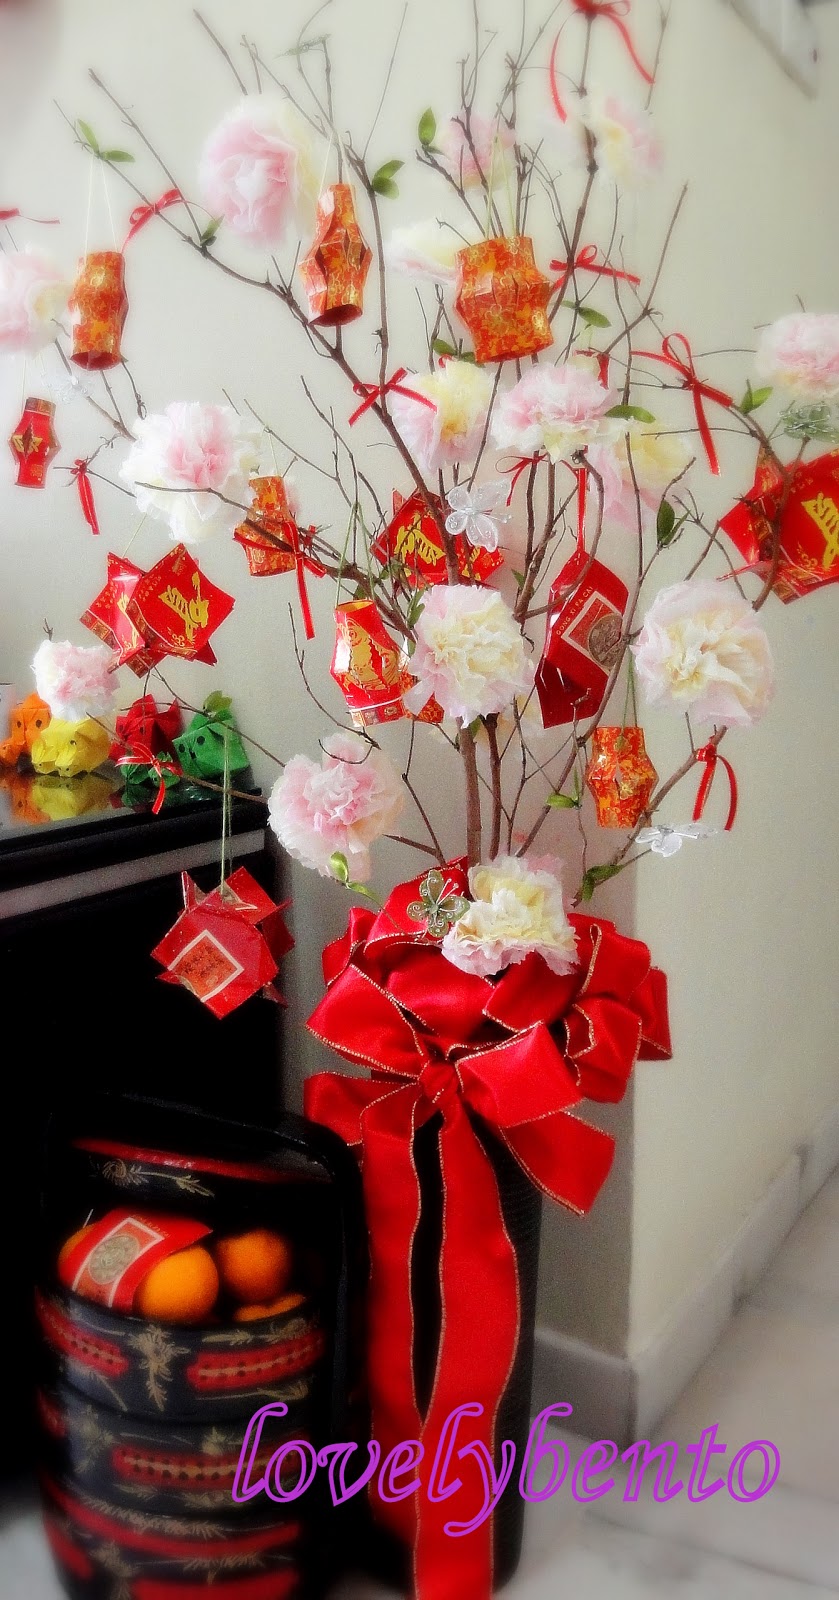
This cherry blossom flower is really lovely and presentable especially for Chinese New Year. So me and my little girl did this cherry blossom flowers together and tied on the tree branches. She then made all the tanglungs by herself and hang it on the tree.  I tied some red ribbons and prepared some leaves made from ribbons and here is how it looks like.. Niceeee? Well you can make many things out of this cherry blossom flowers not just for CNY.. am sure you can think of a lot of things from this ^v^


To make the flowers and the leaves, these are the materials that you need; color tissue papers (or you can use other types of paper eg. paper tissue from your local Art shop), green wire, green ribbons, ribbon scissors and wire scissors


Take 2 pieces of different color tissue papers and put on top of each other
Fold it like how you fold a fan at the middle or just accummulate the middle part until you get this ...hmm looks like a ribbon
 Then take a green wire and twine it in the middle and twist it and turn it, so to tighten it. The wire can just be 1/3 of the whole length if you just want to twine it to the tree branch, but if you want to make few stalks of flowers to put into a vase, then you may use the full length.  Use the wire cutter to cut the green wire.
 Above is how it looks like in the middle after twined.
Below, is how it looks like from the side
You may cut it to semi circle to make it smaller , depending on what size you want for your flower. Or you may even use your hands to just tear it ..this way it looks more like a flower ^v^

 This is how it looks after tearing it

Next, is to open up your little cherry blossom flower, softly ..layer by layer starting from the middle and finally to the outer layer and adjust it like a round shape

 Finally, till you get this 


How to make the leaves for your tree? Well just use the green ribbon and cut it out to be in this shape below and put the small little wire on it (if your ribbon is shinny on one side only, then put the wire on that side)

Then twine it the same way you twin the flower

These little ribbon leaves can then be added to your little tree or just twine it on the stalk of flower and you can finish up the stalk of flower with green tape
You can do a bunch of flowers for your vase, or make a little small one to stick on a birthday card, or just decorate your church with all these lovely flowers!  it's just inexpensive, but you just need some time to do it and enjoy the whole thing! ^v^

Look at the below,  you can even add a little butterfly to beautify your blossom flower plant